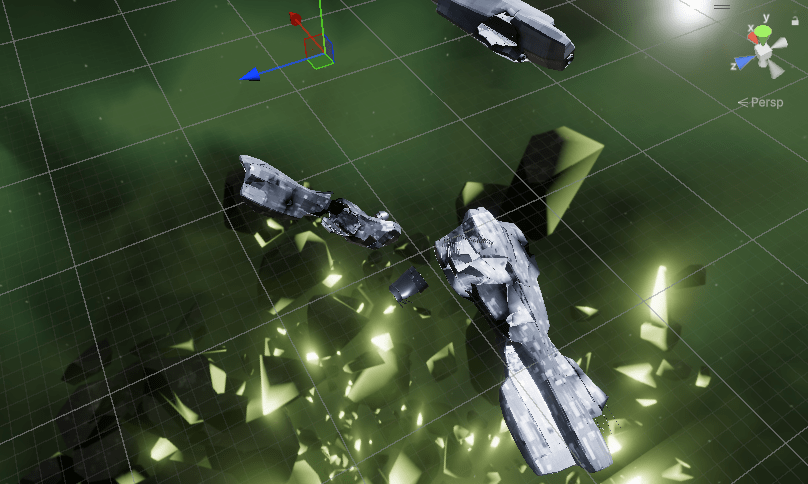
I’ve learned a lot of new Blender tricks while working on Super Bandit. This post covers some workflows I’ve been using to create large “hero” wrecks for one of the arena/maps for the game. Super Bandit’s low-poly as a design/sanity choice – if your project requires fancy polygons for everything these tips might not work for you.
Rule 1: Cheat
I will spend hours doodling and pushing vertices around in Blender if the spaceship is a starfighter, but as soon as I need a starship larger than an Aluminum Falcon my brain rejects every attempt at creativity.
Luckily I am not the only person who just needs some vaguely-capital-ship-shaped-shapes. There are many add-ons to do this for you in Blender, but me being me, I went with “watch a YouTube video on how to make one myself”:
Because you’re starting from the same base metaball cluster, if you’re intentional with your modifiers, you can create fleets according to an overall style or theme fairly easily.
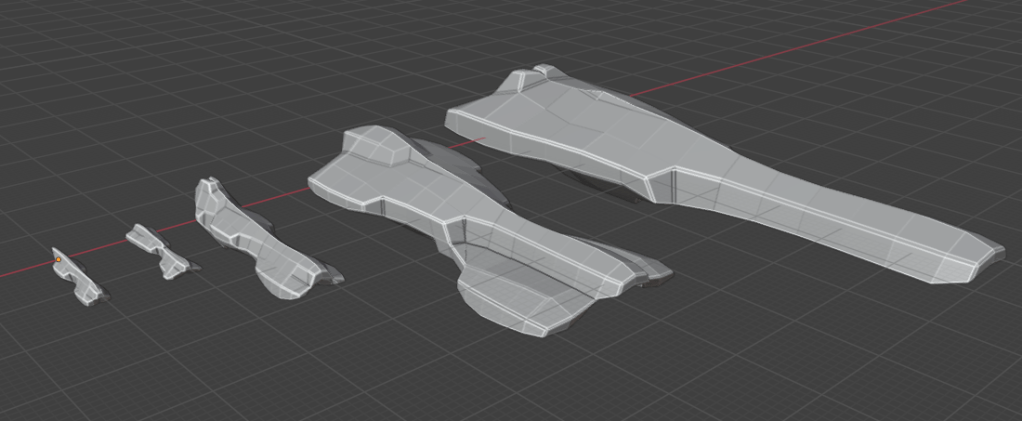
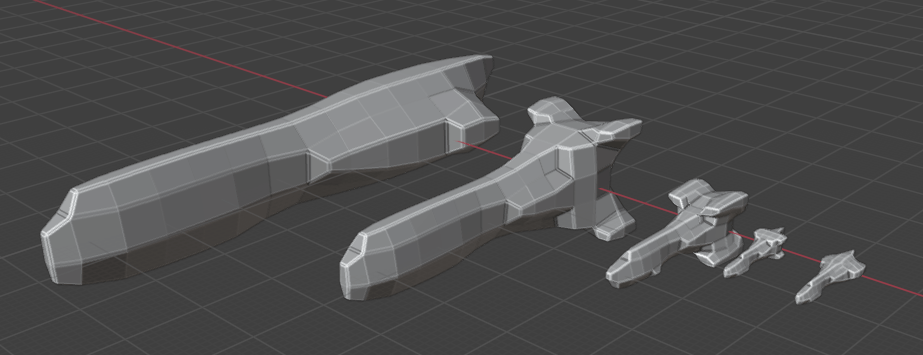
Some gotchas that will make your life hell later if you need to actually use these anywhere, though:
- Make sure your Mirror modifier has Bisect enabled. This will prevent overlapping meshes completely trashing your manifold mesh. You still might have issues if you use the twist modifier hard enough, but Bisect will cover 90% of the problems.
- I am a proponent of re-mirroring the mesh after applying the modifiers. You’ll probably have to do a little bit of cleanup regardless unless you’re very lucky.
- I also go through at this stage and Mark Seam and Mark Sharp on the larger panel or component areas of the ship mesh. It’ll make UV mapping easier.
Rule 2: I Also Hate Textures
If you like UV mapping and making bespoke textures, more power to you. I hate it, which is why I got into 3d printing.
https://displacementx.pages.dev
This website procedurally generates color and normal maps suitable for starship hulls, greebles, and infrastructure. From what I can tell it’s a web version of a discontinued pre-AI texture generator called JSplacement.
At this point, you have a uv-mapped base mesh and you’re ready to either take it further by increasing details, adding kitbashed greebles, and working on the base mesh, or it’s good enough and it’s time to duplicate the mesh so we can blow it the hell up.
Starships are Like Ogres and Onions
A convincing derelict ship comes down to layers.
- Hull
- Superstructure/frame
- Interior decks/components
Hull: Twisted Metal
We have our base shape from the previous step. Now, we want to split and rip the hull into pieces. If you know exactly where and how you want to wreck your ship, you can use the Knife or Bisect tool or something a little more manual. I often don’t, so I go to the Cell Fracture add-on (it comes with Blender idk why they call it an add-on). The problem is, by default, cell fracture carves out concrete-like chunks from a mesh. We want a thin hull we can twist and warp, so enable these settings:
- Interior Material Slot: This will let you apply a different material to the inside, which also lets you select everything on the inside.
- Interior Vertex Group: Just in case you forgot to assign a different material.
- Collection: It’s so much easier to regroup the chunks if they’re in their own collection.
After you run Cell Fracture, rejoin the resulting chunks (you put them all in their own collection so this should be easy). Tab into Edit mode and only select the interior geometry, using either your interior vertex group or the interior material you assigned.
Delete the inside. Now you have a fractured starship “skin”. This can be re-separated by Loose Parts or more manually by selecting how you want your derelict to look.
Use sculpting tools to twist and break the resulting hull pieces to taste.
Frame: Sticks and Stones
I cheat real hard with the interior framework/superstructure for capital ships.
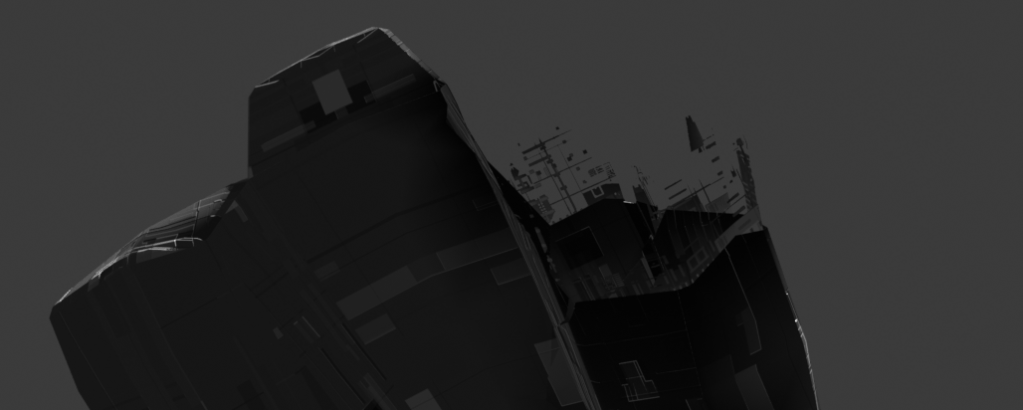
- Extrude out any hull breaches. Separate them if it makes it easier to UV map them.
- UV map those polygons to a sufficiently “superstructure”-like texture appropriate for your ship’s scale. I’m making larger derelicts, so I want a lot of crisscrossing detail.
- You want to “alpha-clip” the texture in the Shading editor. Whatever else you’re doing in there, add a Greater Than node right before your material’s alpha channel. Then you can clamp/limit/clip your crisscrossing superstructure texture dynamically, creating as many holes and gaps as needed.
Interior Decks: Wardrobe Malfunctions
For Super Bandit, players are zipping past these wrecks. They’re not exploring the blown-out hulls with spacesuits and flashlights. I’ve found that a simple lumpy interior mesh with a complex “exposed decks” texture works fine for my purposes.
- Duplicate and scale down/shrink your base mesh so it fits “inside” the hull.
- Delete anything that’s clipping through or that you won’t need to see. If your engines are blown clean off, you probably don’t need to shrink down and include the bow/nose geometry for example.
- Assign and UV map a suitably complex “interior decks” texture.
For extra credit, you could scale an in-between layer and reuse the alpha-clipped superstructure texture from the previous step. This’ll help hide your interior geometry sins!


Leave a Reply